TerraMaster has provided the F2-425 Plus 3+2-bay NAS for evaluation. It features an Intel Processor N150 CPU with 8GB of RAM, two 3.5-inch SATA bays, three M.2 NVMe slots, two 5GbE RJ45 ports, and several USB ports.
We’ll skip the specifications, previously shared, and start this review with the unboxing and teardown for hardware inspection, then detail drive installation and a quick initial test.
TerraMaster F2-425 Plus NAS Unboxing
The NAS arrived in retail packaging as the “All new 2-Bay Hybrid NAS”. Its delivery from Hong Kong to Thailand via UPS took nearly two months, primarily due to customs, but I digress. The package included a box with a Quick Installation Guide, a Limited Warranty brochure, a Compensation Promises sheet, hard drive labels, a power adapter (12V/3.33A, 39.36W), a power cord (US), an Ethernet cable, and screws.
The unit features two 3.5-inch SATA bays, a USB 3.0 Type-A (10 Gbps) port, and a front-facing power button.
The rear panel includes a cooling fan, a Reset pinhole, an HDMI port (output only), two 5GbE ports, two USB 3.2 (10 Gbps) Type-A ports, a 10 Gbps USB Type-C port, and a 12V DC jack. All USB ports are indicated as 10 Gbps, which we appreciate.
Hard Drive and NVMe SSD Installation
Press the top of a SATA tray to slide it out. I will add another 1TB SATA drive, but for now, I installed an old 3.5-inch SATA drive by clipping it into a tray. Once done, slide the trays back into the NAS.
Installing an M.2 NVMe SSD required more effort. Remove two screws on the unit’s bottom, and slide out the metal case. You’ll see the motherboard’s top with three M.2 2280 sockets for SSDs and an 8GB DDR5 RAM module.
I installed a 1TB ORICO O7000 NVMe SSD in the M.2_SSD_2 socket for this review.
TerraMaster F2-425 Plus Teardown
While a user can reassemble now, as a reviewer, I explored the hardware further. Removing trays reveals a SATA board with two ports.
Removing ten more screws allows the mainboard to be taken out. This fanless SBC has a large processor heatsink, though the NAS is not fanless because a fan cools the drives and system. The SATA board connects to the mainboard through a PCIe x1 socket with SATA signals.
The board’s bottom left features a coin cell battery for the RTC and a replaceable module with 2 Gbit (256MB) Macronix MXIC MX30LF2G28AD-TI NAND flash, likely for the TerraMaster OS bootloader.
The top left has a ClR CMOS jumper, a buzzer, and an ITE IT8613E super I/O chip for monitoring and fan control.
The board’s left side offers an internal USB port, likely for an alternative boot device. It includes the SATA PCIe slot, a Realtek RTS5432 USB 3.2 Gen 2 hub controller chip, and two Realtek RTL8126 5GbE PCIe controllers. A UART connector allows low-level access.
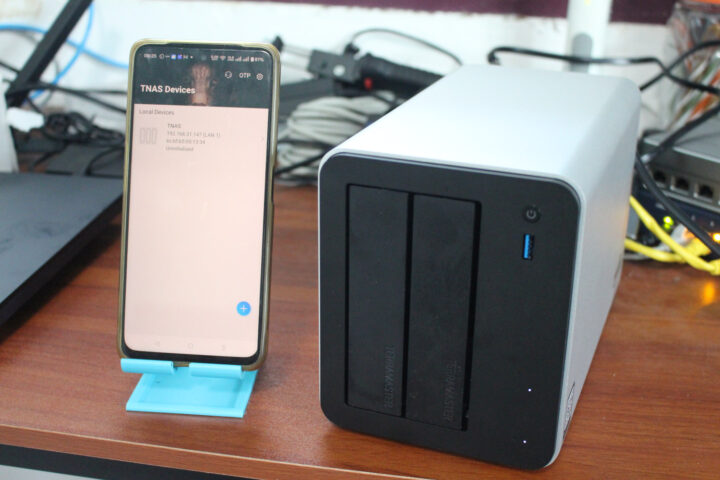
First Boot
The NAS was reassembled and powered up for a quick test. It connected to a 2.5GbE switch and the power, then was booted using the front power button. Using the TNAS mobile Android app, installed via QR code, the NAS was automatically detected.
The TNAS initialization window appeared on the app, though I postponed configuring it until adding an additional 3.5-inch SATA drive.
It was mentioned that a web browser is needed for customization like creating a cache using SSDs, so the mobile app isn’t strictly necessary.
Stay tuned for the second review part, covering initialization, storage and 5Gbps Ethernet tests, and TerraMaster F