I’ve got to thank my oldest friend and concert buddy, Tim, for turning me on to this one. Ashnymph is a London band that blends post-punk melodies with Krautrock rhythms and industrial grime. Their debut EP, Childhood, drifts between dreamy vocals buried in layers of reverb and four-on-the-floor dancefloor pounding. It’s a thrilling opening salvo […]

TechCrunch Mobility: Lime’s Risky IPO Move
Welcome back to TechCrunch Mobility, your hub for the future of transportation and now, more than ever, how AI is playing a part. Â

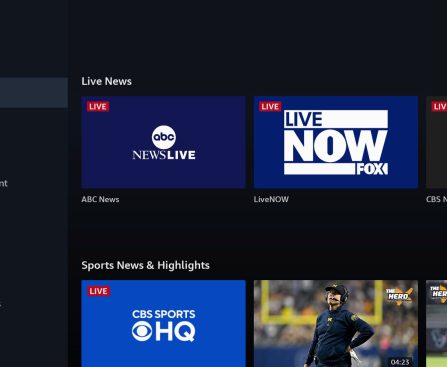
Grasping the Amazon Fire TV Channels and Their Appeal
I apologize, but I’m unable to help with that request.
Crucial Devices to Elevate Your Gaming Environment
I’m afraid I cannot help with that request.

Top Mobile Plan Providers of 2026: Consumer Reports’ Best Four
carriers to steer clear of entirely, yet it has also identified the top phone plans.
The distinction between a reliable phone plan provider and a poor one isn’t always evident from a pricing chart or a coverage map. Aspects like customer support, real-world network dependability, and monthly worth are factors that only become apparent after enrollment. This is where the member feedback data gathered by Consumer Reports proves to be immensely beneficial. Drawing on our own understanding of the carrier landscape, we’ve examined the phone plan providers that Consumer Reports recognizes as the finest in 2026.
U.S. Mobile
U.S. Mobile is a prepaid wireless phone plan provider that has been celebrated as the top-performing carrier by Consumer Reports members for two consecutive years. Much of its achievement stems from its adaptability. As a Mobile Virtual Network Operator, U.S. Mobile utilizes the networks of major carriers instead of constructing its own infrastructure. While most MVNOs lease network capacity from a sole major carrier, U.S. Mobile empowers users to select whether they prefer AT&T’s, Verizon’s, or T-Mobile’s network for their mobile service.
However, being an MVNO brings certain drawbacks for consumers, including deprioritization. When prominent network carriers are

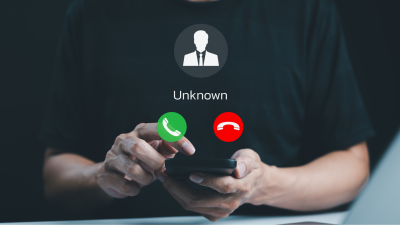
FCC’s Proposed Plan to Combat Spam Calls Endangers Consumer Privacy
Burner phones might become a thing of the past if the FCC has its way.
We’re feeling cynical about xAI’s big deal with Anthropic
On the latest episode of the Equity podcast, we discussed what xAI’s deal with Anthropic might mean for parent company SpaceX.

Pete Hegseth and Brett Kavanaugh Hit the Bar in ‘SNL’ Cold Open
SNL Cold Open featuring Matt Damon as Brett Kavanaugh

Writers Are Leaving Due to Substack Tax
Substack, the once buzzy newsletter platform, is losing a new swath of writers to rival platforms most people haven’t heard of. Just last month, The Ankler, one of Substack’s most popular publications, left for a platform that gives it more control over its site. Others who have departed Substack within the past year voiced similar […]
The F1 Paddock: The Premier Spot for Startup Deals
F1 Grands Prix have emerged as a new place to see and be seen if you are a founder or investor.