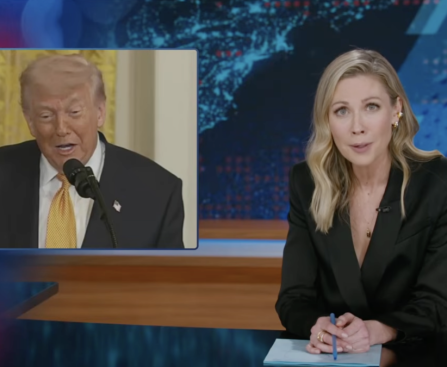
“Daily Show” host Desi Lydic has mocked the speech Donald Trump made during his recent Mother’s Day event paying tribute to military mothers.
Mother’s Day 2026 Offers: Enjoy Free Food from Denny’s, Pizza Hut, Dunkin’, and More
Celebrate Mother’s Day with the best free food deals from a number of popular restaurants, including Dennyâs, Pizza Hut, Dunkin’, and more.

Top MTG Offer: Get 30 Packs of The Hobbit Expansion for Just $210
Preorder the Magic: The Gathering The Hobbit Play Booster Box for $209.70 at Amazon, over $15 below TCGplayer’s market price.

Lime Seeks Nasdaq IPO with LIME Ticker, First Major Micromobility Test in Eight Years
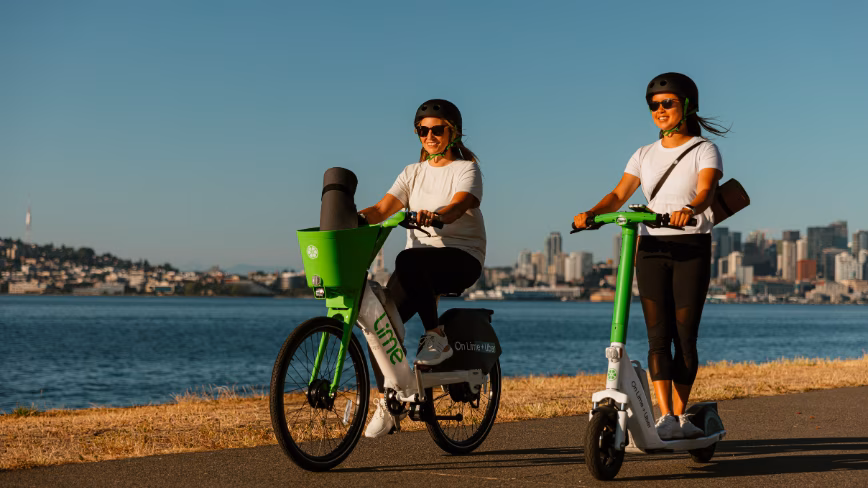
The San Francisco scooter-and-e-bike operator goes public as Neutron Holdings with Goldman Sachs and JPMorgan as joint book-runners. $686m in 2024 revenue and two consecutive years of free cash flow give it a financial profile that the rest of the category never reached. Lime, the Uber-backed shared scooter and e-bike operator, filed for a US […]
This story continues at The Next Web

Apple Establishes Verification Procedure for Education Store and Launches Reduced Price Apple Watch Choices
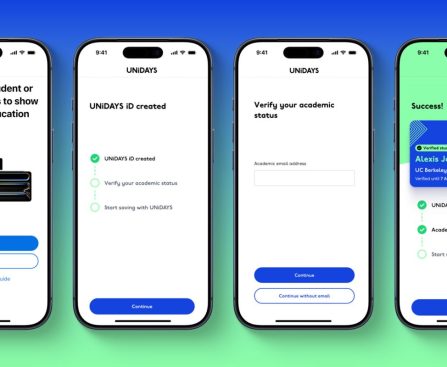
Apple has made substantial modifications to its Education Store, improving the purchasing experience for qualifying students and educators. The most significant update is the establishment of a verification requirement for all transactions, departing from the previous “honor system.” This new guideline is in effect in the United States and is also applicable in multiple other countries, including Australia, Hong Kong, Turkey, Canada, and Chile, whereas verification had already been mandatory in markets like the UK.
Qualified customers for the Education Store comprise current and newly accepted college students, along with their parents, faculty, staff, and homeschool instructors at all educational tiers. To simplify the verification procedure, Apple has collaborated with UNiDAYS. Customers will need to generate a UNiDAYS ID and confirm their academic eligibility by logging into their institution’s academic portal or by submitting a photo of their student or faculty IDs. Homeschool educators will need to present a government-issued ID and a homeschool document, such as a Letter of Intent or Letter of Acknowledgment. Most verifications will be conducted instantly, whereas those requiring manual review can anticipate a response within 24 hours. This verification procedure applies to both online and physical store transactions.
Despite the introduction of the verification requirement, Apple has preserved its current purchase limits within the Education Store. Customers are allowed to acquire one desktop, Mac mini, or notebook per year, two iPads, and two accessories at educational prices annually.
Along with the verification updates, Apple has also broadened its Education Store selection to include the Apple Watch for the first time. This encompasses discounts on the Apple Watch Series 11, Apple Watch SE, and Apple Watch Ultra 3. The Apple Watch is now offered through the Education Store in various markets, including Australia, China, Hong Kong, Japan, and numerous European and Asian countries.
This action signifies Apple’s second endeavor to implement verification for the Education Store in the U.S., following a brief rollout in January 2022 that was promptly rescinded. The company has not publicly detailed the rationale behind the reintroduced verification requirement, but it is speculated that the launch of new products, such as the MacBook Neo, might be a factor.
Overall, these adjustments seek to guarantee that discounts meant for students and educators are properly allocated while enhancing the array of products accessible to this group.
Grab the Dyson V8 Plus at Amazon for under $350 — Save almost $200!
Find the best vacuum deal at Amazon. Save 35% on the Dyson V8 Plus at Amazon.

David Attenborough Celebrates His 100th Birthday in Good Health
Sir David Attenborough turned 100 years old on Friday, and has thanked people for their well-wishes. A wasp was named after him too.

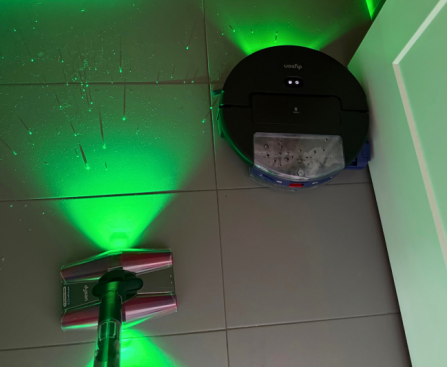
Review of the Dyson Spot+Scrub Ai Robot Vacuum: A Missed Opportunity for Dyson’s Comeback
I tried Dyson’s new robot vacuum at home. The Spot+Scrub Ai beats the 360 Vis Nav, but gets torched by Roborock and Dreame.
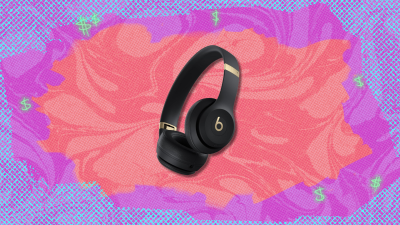
Huge Discount: Save Nearly $100 on Beats Solo 4 Headphones at Amazon — Act Fast
Get the best deal on headphones. Save 45% on the Beats Solo 4 at Amazon.
NYT Mini Crossword Solutions and Clues for May 8, 2026
Answers to each clue for the May 8, 2026 edition of NYT’s The Mini crossword puzzle.