Get the most from your Galaxy S26 with these suggestions!
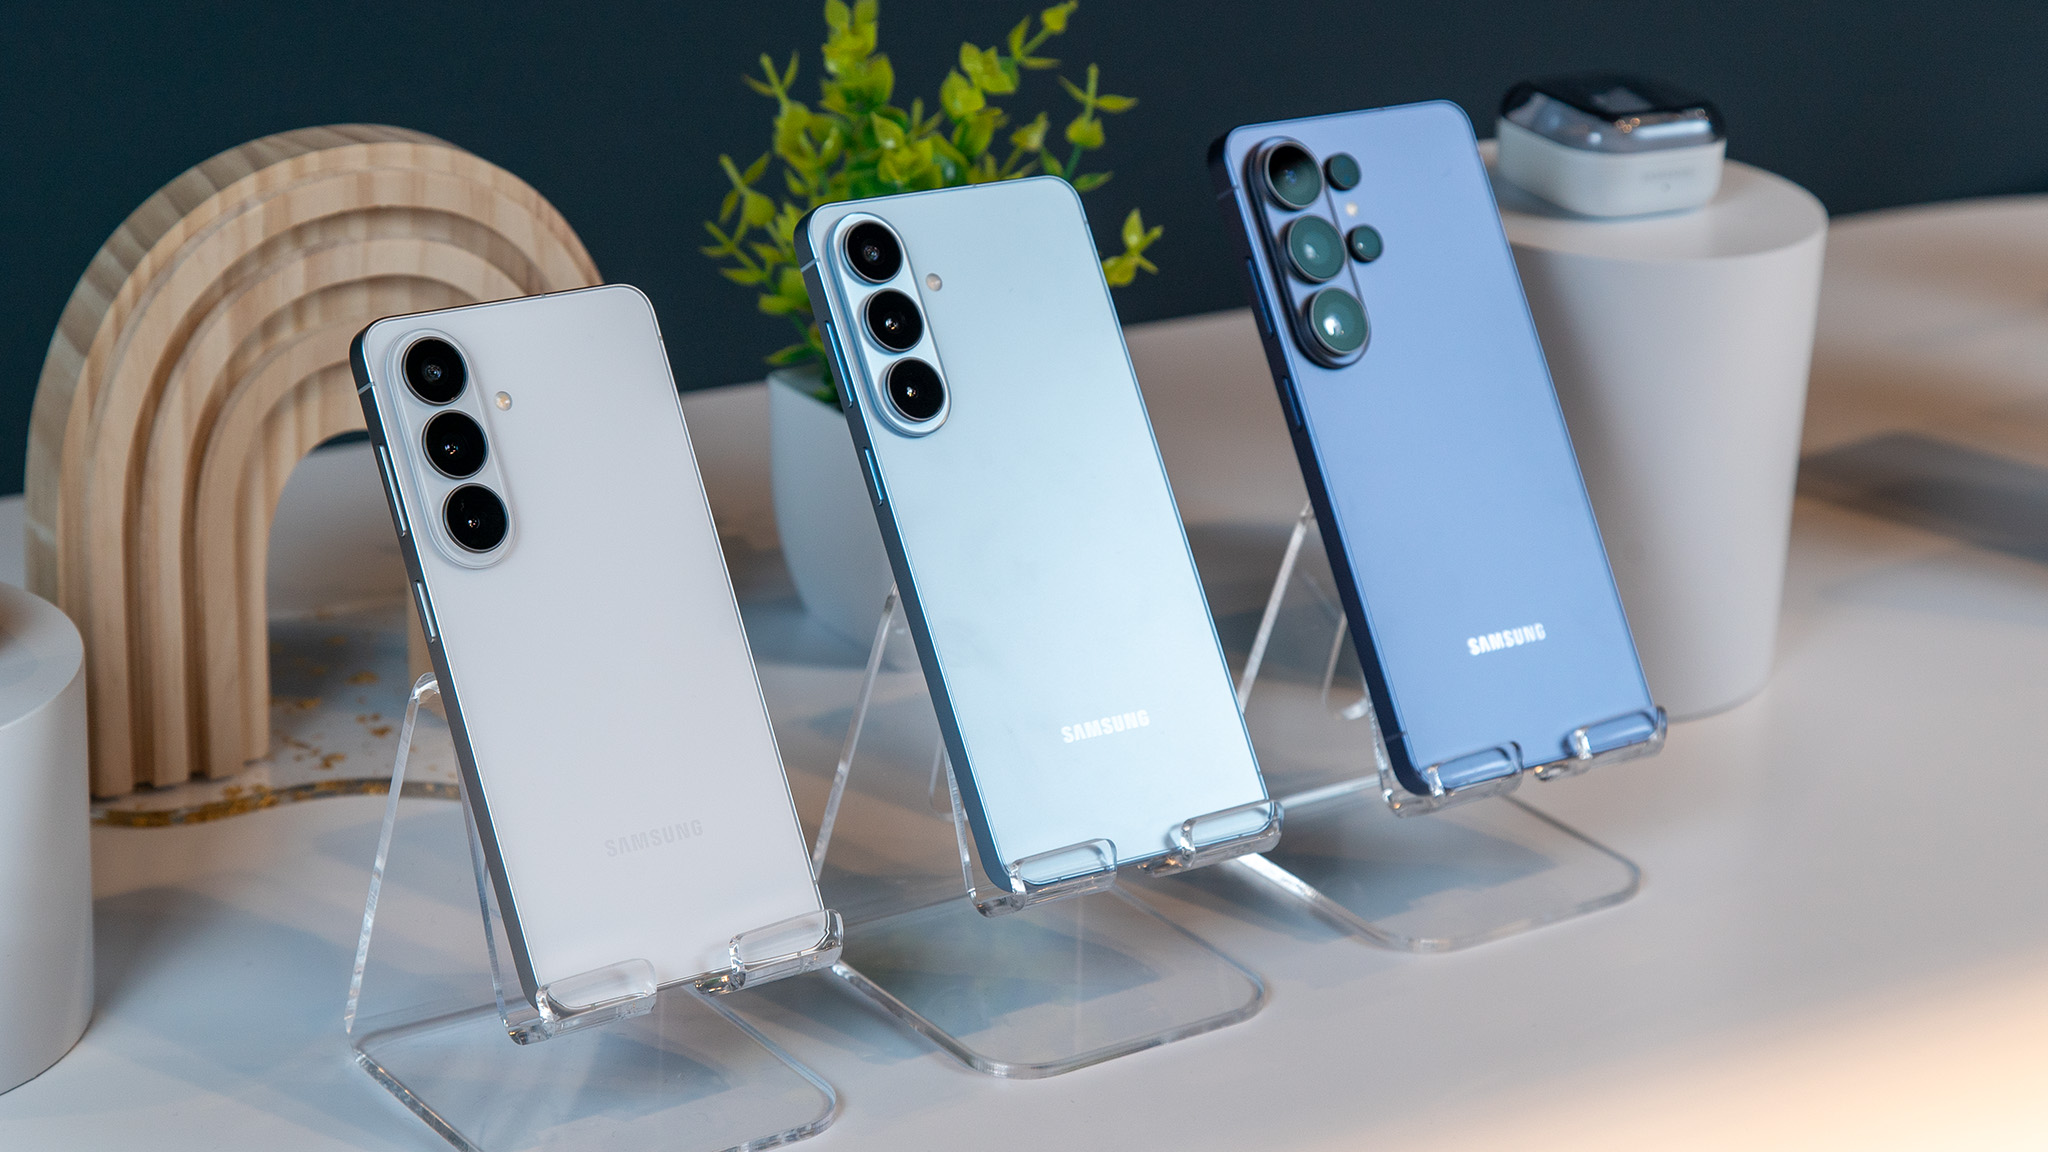
You’ve just acquired a shiny new Galaxy S26. The phones might not appear vastly different from the Galaxy S25 series, but Samsung’s newest flagships are packed with numerous new features, some of which may also benefit earlier models.
While we promote the exploration of your new device and all its capabilities, here are some initial adjustments or checks to consider after setting up your phone. Whether you own the Galaxy S26, S26 Plus, or S26 Ultra, here are some early tips and tricks.
Configure your Privacy Display to obscure your screen
A major hardware highlight of the Galaxy S26 series is the Privacy Display. Regrettably, it’s exclusive to the Galaxy S26 Ultra; this feature employs a distinct pixel arrangement that effectively obscures your screen’s contents from anyone viewing from an angle by deactivating some pixels. Consequently, you can still see your display, but anyone attempting to take a peek shouldn’t be able to.
The effect is impressively effective, and Samsung allows you to tailor the Privacy Display to activate only when you launch specific apps or when notifications arrive.
To enable the Privacy Display on your Galaxy S26 Ultra, go to Settings > Display > Privacy Display and switch the feature on. Then, tap the option to explore the various customizations.
Once you turn on the Conditions for activation, you’ll discover the following options:
– Apps: Activates the Privacy Display when certain apps are opened
– Pin, pattern, password: Obscures the screen when entering sensitive information, but works only in the Settings app, lock screen, and Secure Folder.
– Notification pop-ups: Partially enables the Privacy Display, hiding just the notifications while the rest of the display remains visible to others.
You can also choose to activate a Maximum privacy display, which alters how the display looks when viewed directly. This will further deter others from viewing your screen and will also change your viewing experience.
A fresh approach to voicemail
Voicemails are typically managed by carriers or apps like the T-Mobile Visual Voicemail app. However, Samsung is taking charge with Direct Voicemail, a feature that fundamentally enhances your voicemail experience at no additional cost.
With Direct Voicemail, Samsung grants you greater control over your experience. For instance, when a call comes in, you can opt to send it to voicemail, immediately direct it to voicemail, or have it go to voicemail after a specified period.
You can access and configure Direct Voicemail by going to the Phone app > three-button menu > Settings > Direct voicemail and switching it on. Then decide if you want the app to automatically send calls to voicemail and set the timing accordingly.
Where Direct Voicemail excels compared to other options is its ability to transcribe voicemails as they arrive, a feature for which T-Mobile charges extra. And similar to the traditional voicemail recorders that play the message in real-time, you can actually take the call while the message is being recorded if you determine it’s something you need to address right away.
Voicemails are also stored on-device for easy access from the call log in your phone app. You can also utilize the enhanced Audio Eraser to refine the audio if you can’t clearly hear the main speaker due to background noise.
Alternatively, you can screen your calls
Call Screen on the Pixel is a favorite feature of ours, allowing the phone to use AI to answer calls for you. The concept is to respond to calls from unknown numbers, enabling the assistant to discern the purpose of the call, so you can decide whether it’s worth your attention.
Samsung now offers a comparable feature: appropriately named Call Screening. Like on the Pixel, you won’t have to answer the call, but you can still view a live transcription of the conversation. The AI will inquire about who’s calling and the purpose of the call, and you can either wait for the caller to hang up or answer if you believe it warrants a response.
Access this feature by going to the Phone app > three-dot menu > Settings > Call screening. Once you switch the feature on, you can also activate Auto screen calls and choose either Suspected spam and scams or Unknown callers. You can cover all bases by selecting the latter and enabling Caller ID and spam protection in the primary Call settings.
In addition to Call screening, other Call Assist features include Text call and Live translate. Similar to Call screening, an AI assistant will respond, but you can type or choose responses yourself. Fortunately, this feature connects directly to Call Screening, allowing you to switch to this method whenever you want to take control of the conversation. You can also adjust the voice’s tone, personalize the settings