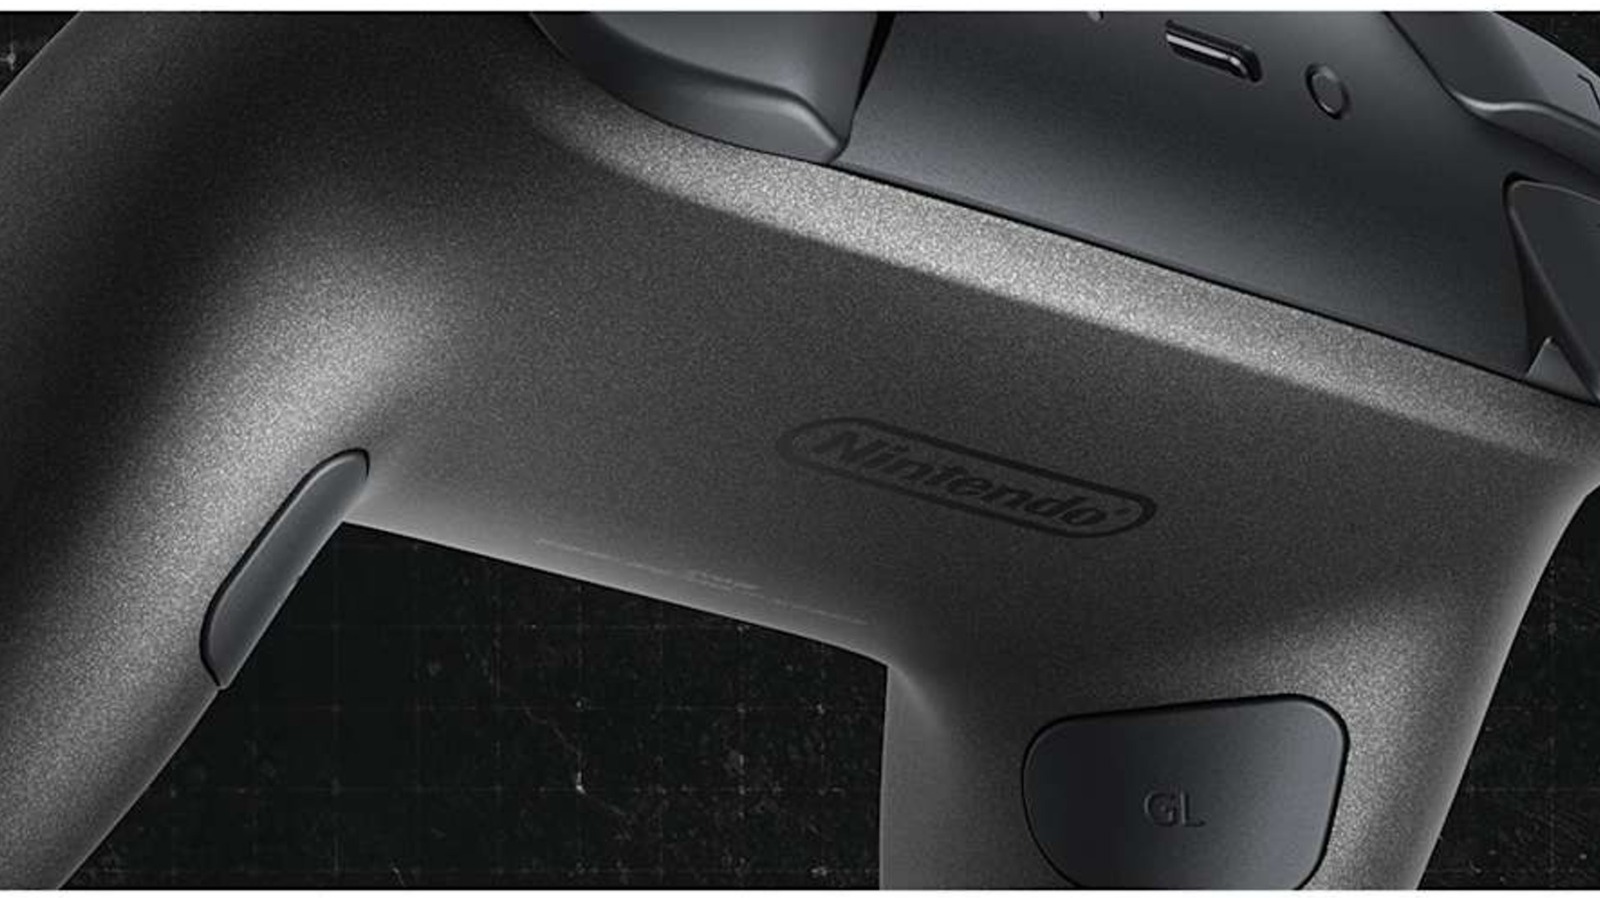
When the Nintendo Switch 2 debuted, it came with a variety of accessories, one of which is an updated Pro Controller. This device is nearly the same as the original Switch’s Pro Controller, but it features additional buttons, including two sizable paddles positioned within the gripping handles. By default, these buttons remain inactive, but you have the option to assign them functions if you desire.
These newly introduced buttons, marked “GL” and “GR” (don’t inquire about the meaning of the “G”), are engineered to integrate with the Switch 2’s button mapping capabilities, offering players more customizable and ergonomic gameplay options. Imagine you’re battling through a platforming time trial and need assistance reducing a few milliseconds from your best time. You could explore speed running techniques, or you might remap the jump action to either GL or GR, allowing you to keep your thumb on the right analog stick and navigate effortlessly through the virtual challenges.
The Switch 2 Pro controller marks the first official Nintendo accessory to feature back buttons. In contrast, if you wanted to utilize this functionality on the original Switch, it necessitated either acquiring a third-party Bluetooth device or employing a specific adapter to enable your Xbox or PS5 controller to function with Nintendo.
How to configure the back buttons on your Nintendo Switch 2 Pro Controller
As games seldom share the same button configurations — sequels excepted — the optimal way to assign tasks to the GL and GR buttons is by utilizing the Switch 2’s Quick Settings menu. While engaged in gameplay, press and hold the Home button until the menu appears. Navigate down to the “GL/GR Buttons” tab and select the button you wish to adjust. Choose it, then push the button you want it to replicate. Repeat this process for the other back button if desired, then exit Quick Settings. The game should identify the GL and GR buttons as one of the bumper, trigger, or face buttons. If you wish to change the function later, simply access Quick Settings again, choose the back button, and either opt for a new function or press the respective GL or GR button to restore its function to neutral.
Given that the console can remember games and their specific GL and GR assignments (one of those features you may not have realized your Switch 2 possesses), you can remap buttons on a per-game basis. However, if you prefer a universal function reassignment applicable to all titles, you can set that up from the console’s home screen. Go to the “System Settings” menu, scroll down to select “Accessibility,” then highlight the controller you wish to modify. Tap on “Edit Controller Mapping,” and then choose “GL/GR Button Settings.” From this point, remap the buttons as you would through the Quick Settings, return to the previous menu, and select “Save.” Once you complete this, your customized GL and GR buttons will be available for use across all games, including those you have yet to try.