The Way a USB Drive Can Safeguard and Rejuvenate Your Computer

The Way a USB Drive Can Safeguard and Rejuvenate Your Computer

2 Min Read

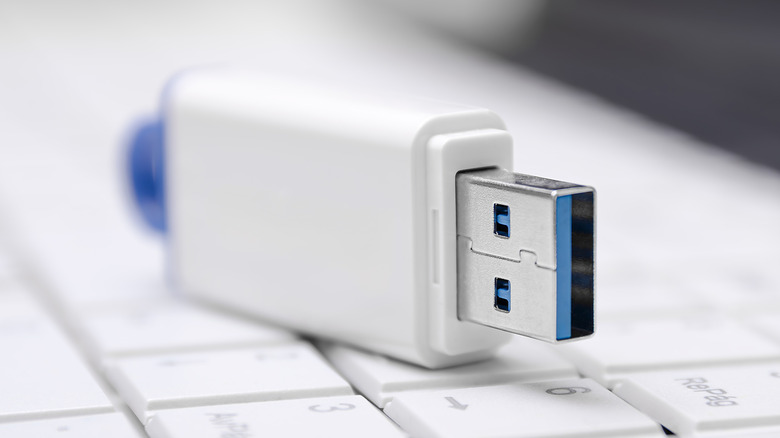
flash drives have mostly been rendered obsolete due to the emergence of cloud backups and portable SSDs that accomplish tasks much more quickly. Moreover, computer manufacturers are progressively transitioning from USB-A to USB-C ports, making many current flash drives incompatible with newer systems.

Nonetheless, there remain some applications for USB sticks in 2026 that everyone should be aware of. An old or new flash drive can be converted into a recovery drive that, should a hardware failure or another significant computer problem arise, can restore your device to its original factory settings. Your recovery drive will house the Windows Recovery Environment, a toolkit utilized for troubleshooting issues that hinder Windows from launching correctly, along with essential Windows files and any updates that have been installed. 

Setting up a recovery drive is quite straightforward, and having one could potentially save your computer from problems down the line.

How to transform a USB flash drive into a recovery drive

Before detailing how to convert your USB stick into a Windows recovery drive, it’s essential to clarify that your drive does not serve as a backup for personal files. Those, along with any installed applications, will be erased when you utilize the recovery drive. You will also require a stick with a minimum of 16 GB of storage, ideally one that is empty, as any pre-existing data will be deleted during the procedure. Thankfully, flash drives of that capacity typically cost around $15, with many options available for an even lower price.

Here’s a guide to configuring your USB stick as a recovery drive:

  1. Look for “Recovery Drive” in the Start menu, or input the command “recoverydrive.exe” to launch the tool.
  2. Ensure “Back up system files to the recovery drive” is checked, then press “Next.”
  3. Connect the USB drive you wish to utilize, select it, and click “Next.”
  4. Choose “Create.”

<

You might also like